FAQ
FAQ
FAQ
FAQ
If you’re storing files in Google Drive, digging through folders every time you need something can get tedious. A database-like setup might make things easier—one where you can index, search, filter, and categorize files effortlessly. By connecting Google Drive to Ragic—a simple, no-code cloud database—you can achieve this with Zapier integration: Every time a new file appears in your Google Drive folder, Ragic can automatically create a new entry. Here's how to set it up:
To easily find files from Google Drive in Ragic, create a sheet with fields containing File Name and File URL. This lets you quickly identify and click the URL to open the file in Google Drive.
You can also add other fields, like a Selection Field to organize Category so you can further use it to filter entries , or an Image Upload Field to attach images:
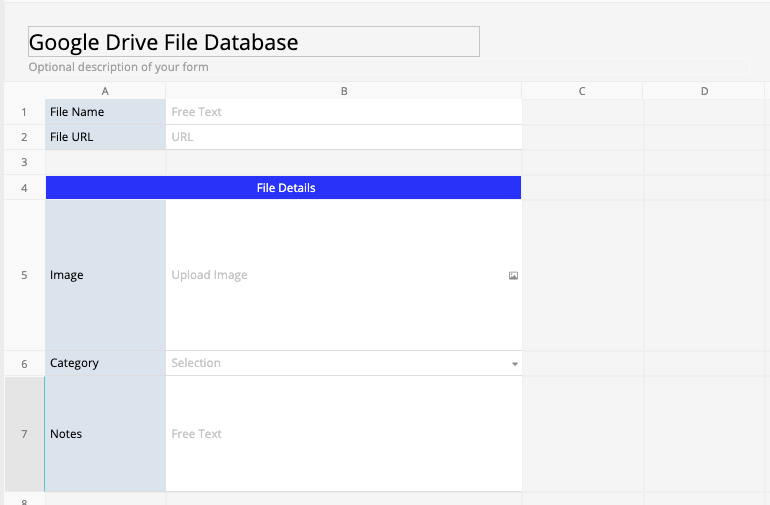
Once you save your sheet design, you’re all set in Ragic.
In Zapier, you’ll see two sync options for files:
If you select the New File in Folder rule for Folder A, files uploaded to Folder A will trigger the automation, but files uploaded to Subfolder A-1 will not.
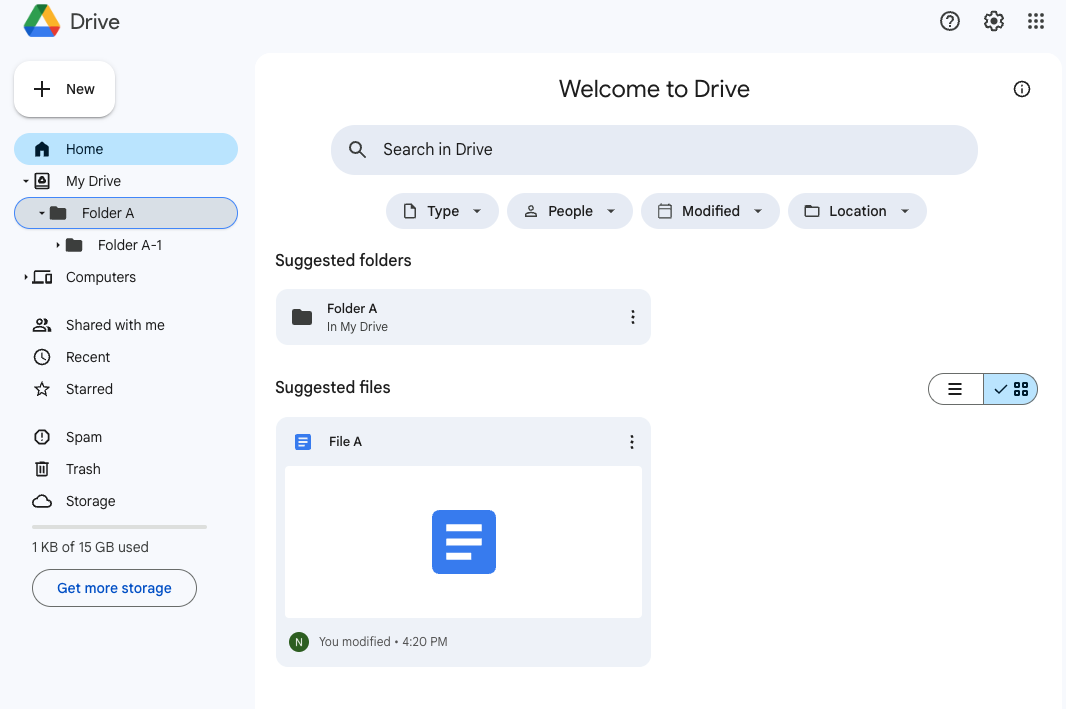
If you want to index your entire Google Drive, choose the New File rule. If you want to track specific folders, choose New File in Folder.
We’ll continue the guide with the second syncing rule: New File in Folder.
To integrate Google Drive with Ragic via Zapier, you need to create a Zap. Once logged in to Zapier, follow these steps:
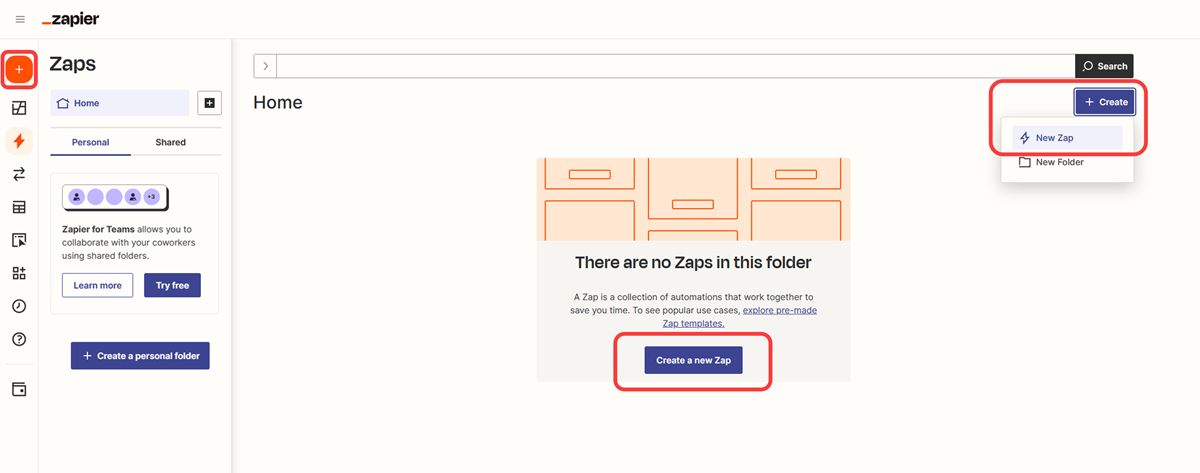
Choose Google Drive: New File in Folder as the trigger.
Choose Ragic: Create Record as the action.
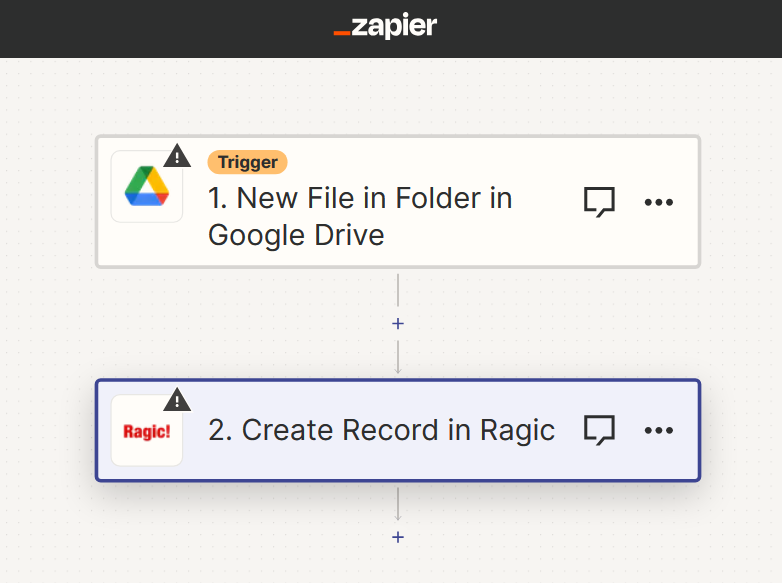
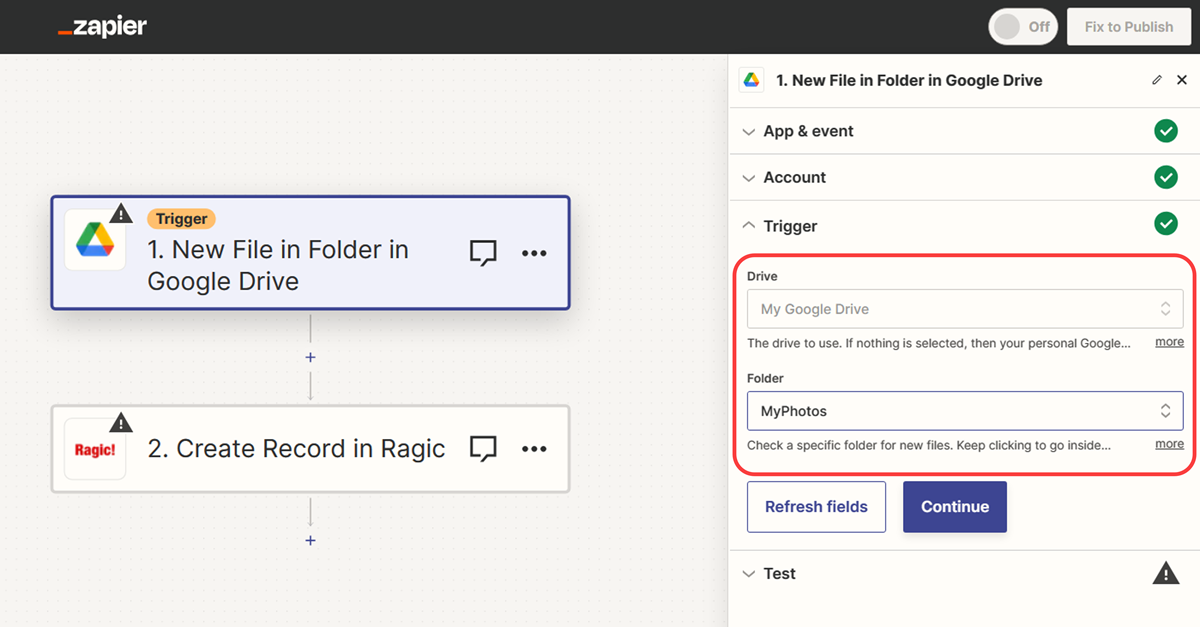
After connecting your Google Drive account, select the folder you want to sync. We recommend adding a few files to the folder for testing.
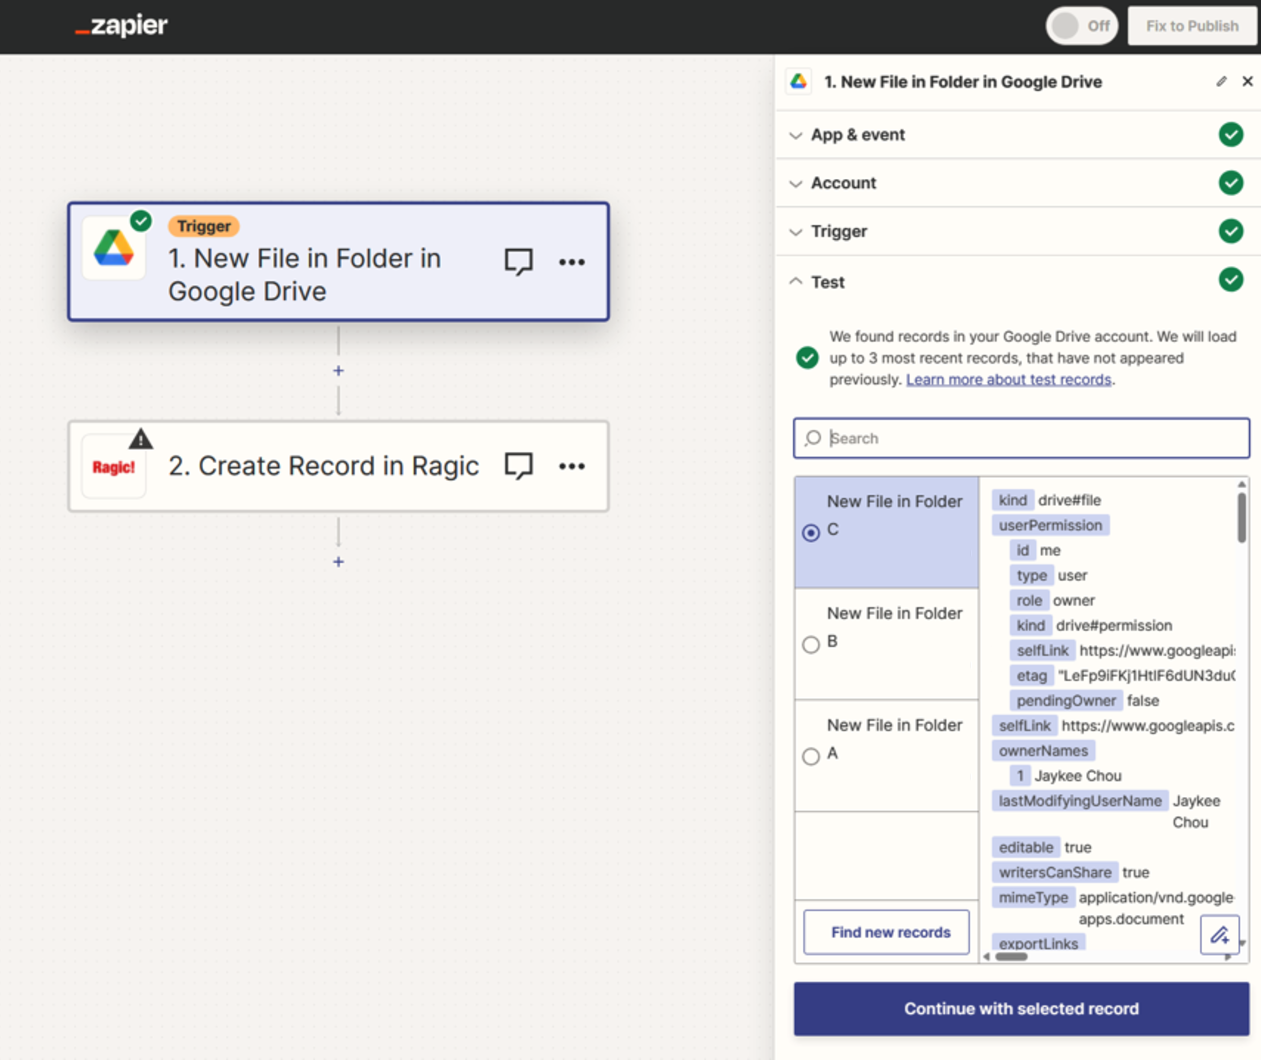
Next, Zapier will show recent files, and you can choose one to test the sync.
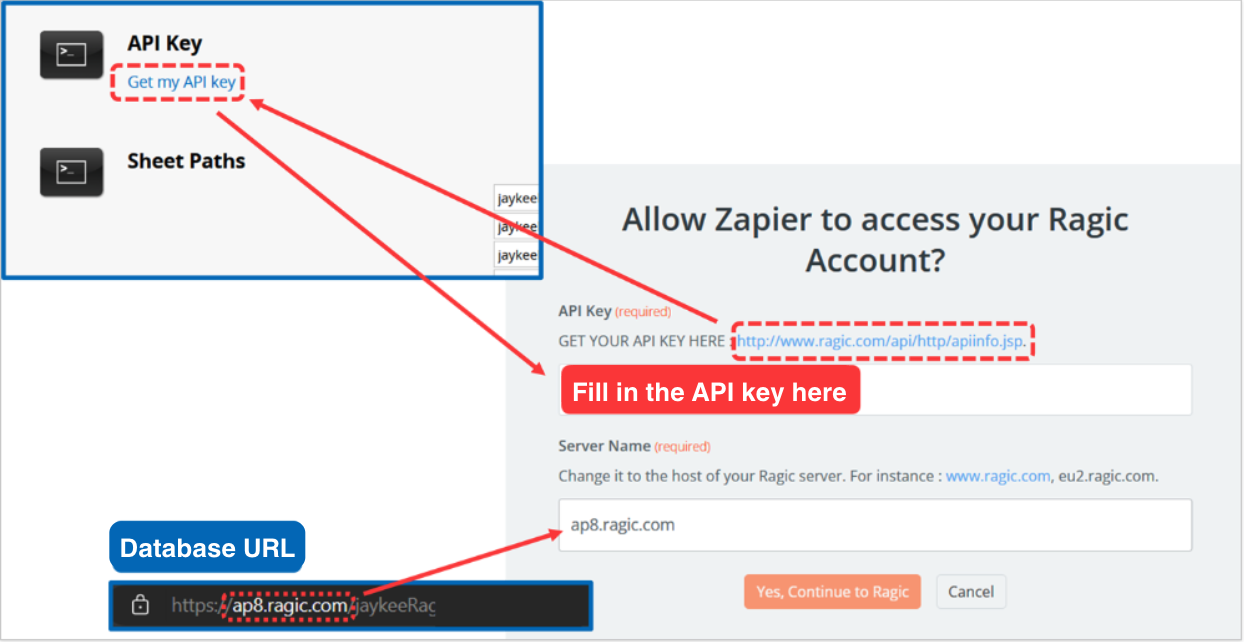
If you haven’t connected Ragic to Zapier yet, it will ask for your API Key and Server Address. You can find this information in your Ragic account settings.
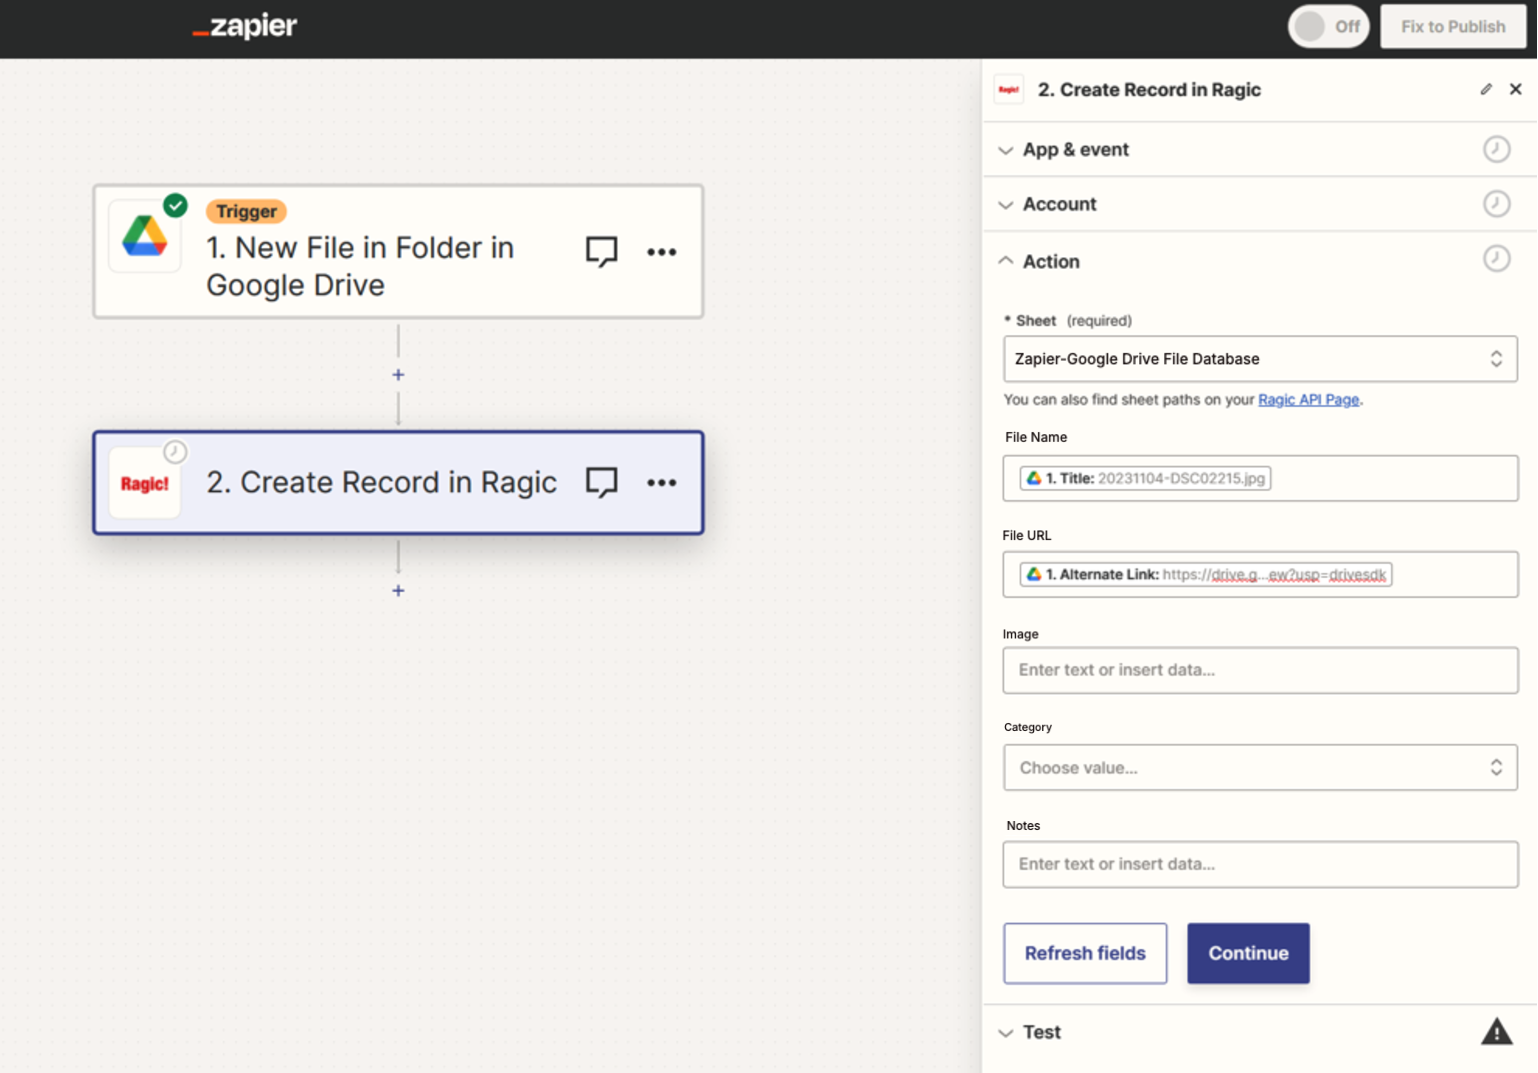
Once connected, select the Ragic sheet you created earlier, and choose which fields to fill in (for the file URL, we recommend using the Alternate Link to access the full Google Drive functionality).
Once everything is set up, Zapier will test the connection.
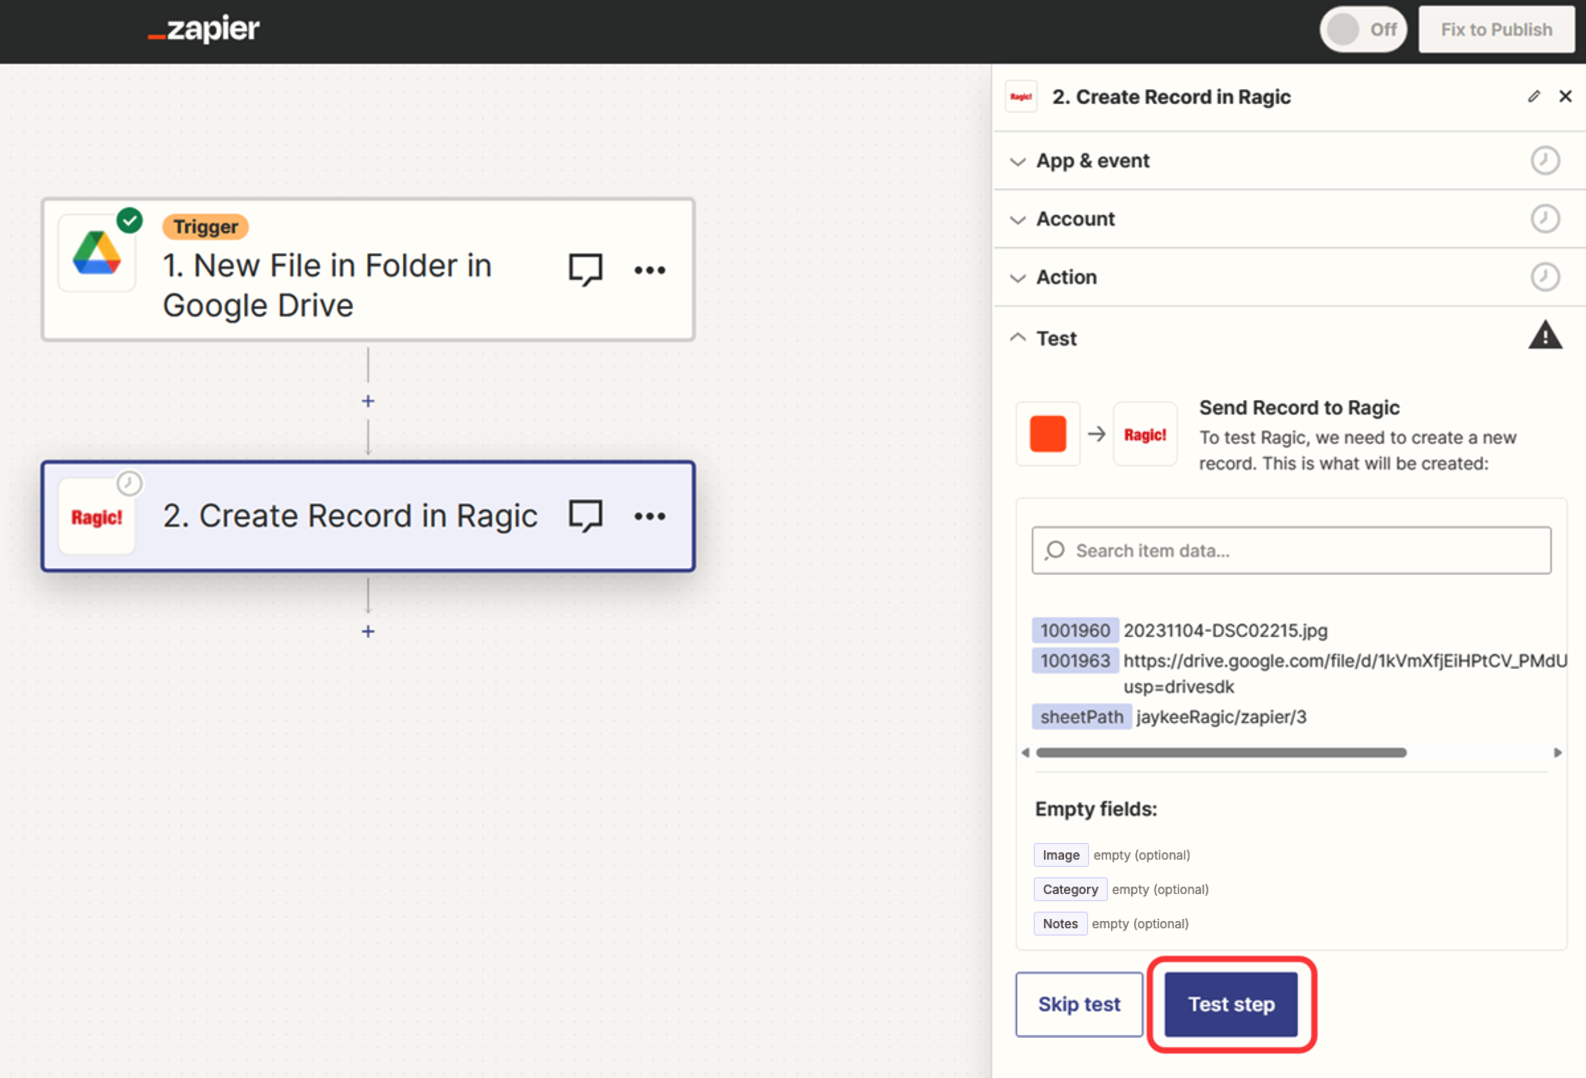
If all goes well, you’ll see the new entry appear in Ragic.
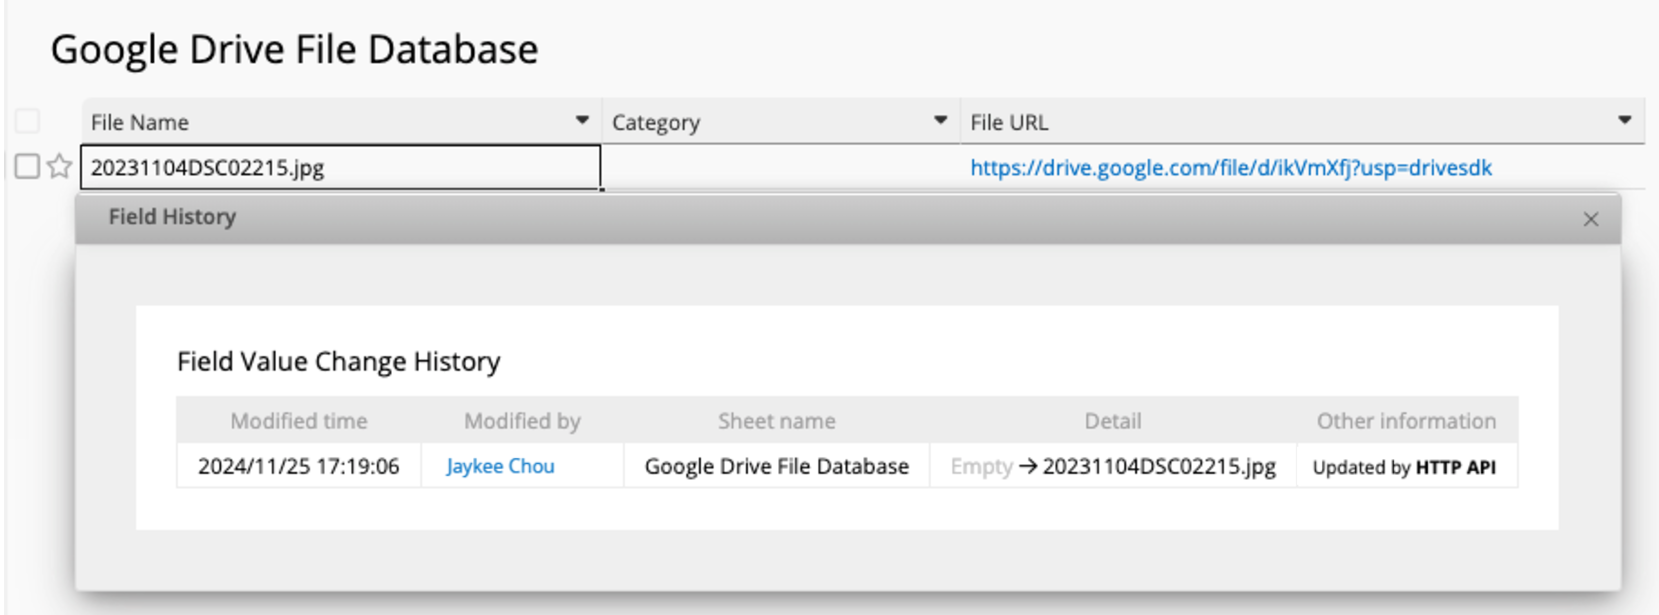
From now on, whenever you upload a file to your designated Google Drive folder, a new record will automatically be created in Ragic, saving you the trouble of manually entering data! Now your files will be automatically indexed, searchable, and easily manageable in Ragic.
 貴重なご意見をありがとうございます!